
Part One of a Two-Part series
Introduction
If you work in the field of Information Technology, you have probably heard of Vulnerability Assessment (VA). VA is a process of identifying security vulnerabilities in a system. It is recommended that you conduct a VA against your organization’s network every quarter, and if your organization follows certain policy and standards, such as PCI DSS, VA is a requirement. However, organizations should not be the only ones conducting VAs against their network; average home users should also conduct vulnerability assessment against their network. In this blog, I will guide you through the process of performing a VA against your network using Nessus Home.
What Is Nessus?
Nessus is a vulnerability scanner developed by Tenable and there are two versions of it: Nessus Home and Nessus Professional. Basically, the major differences between the two are that you can only scan up to 16 IP addresses per scanner, and you won’t be able to perform compliance checks and content audits with Nessus Home. Most average users will not have more than 16 systems, and there is no need to run compliance checks or content audits on your home systems.
Vulnerability assessments are typically done by running authenticated scans, which means the scanner will authenticate against the systems its scanning. The scan will then come back with much more detailed information about a system. With Nessus, you can perform authenticated scans against different operating systems such as Windows, Linux, and Mac OS via different methods such as SMB, SSH, SNMP, Telnet, etc.
Installing and Setting Up Nessus
For demonstration purposes, I will walk you through the process of installing and setting up Nessus and performing an authenticated scan against Windows 10.
To use Nessus, you need to obtain an activation code on Tenable’s website, which is (https://www.tenable.com/products/nessus-home). Use your name and email address, and the code will be sent to your email.
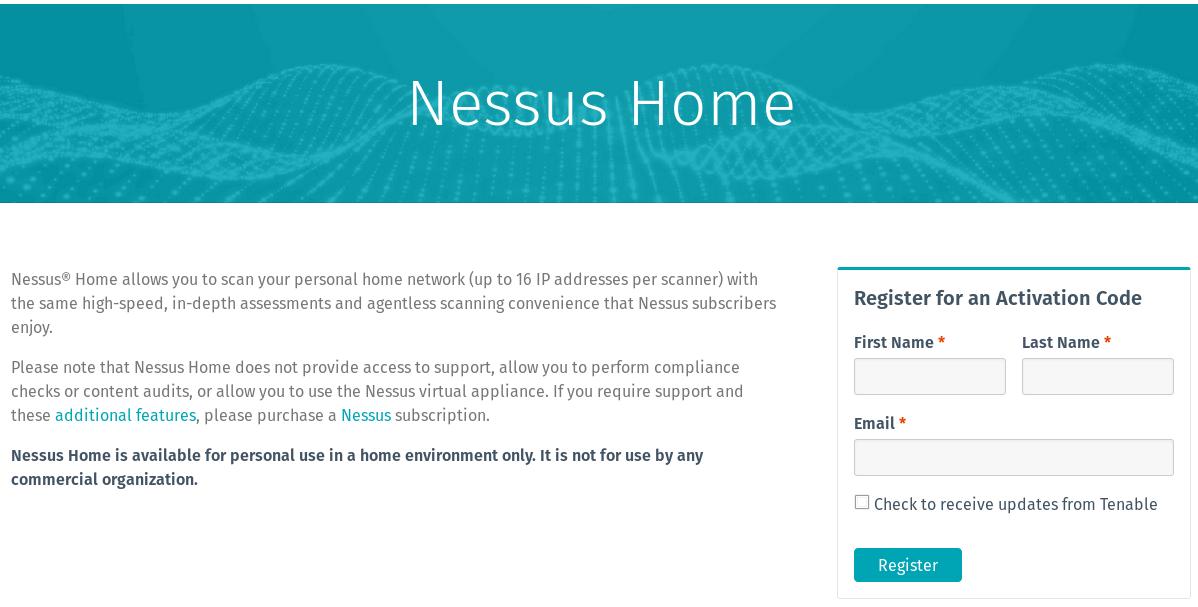 Registering for an Activation Code
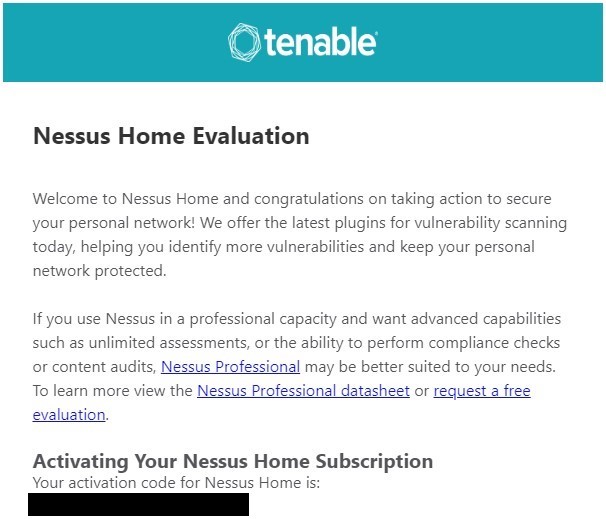 Emailed Activation Code
Once you receive your code, go to this page (https://www.tenable.com/downloads/nessus) and download Nessus. Choose the appropriate package. In my case, I’m going to download the package for Windows 10 (64-bit).
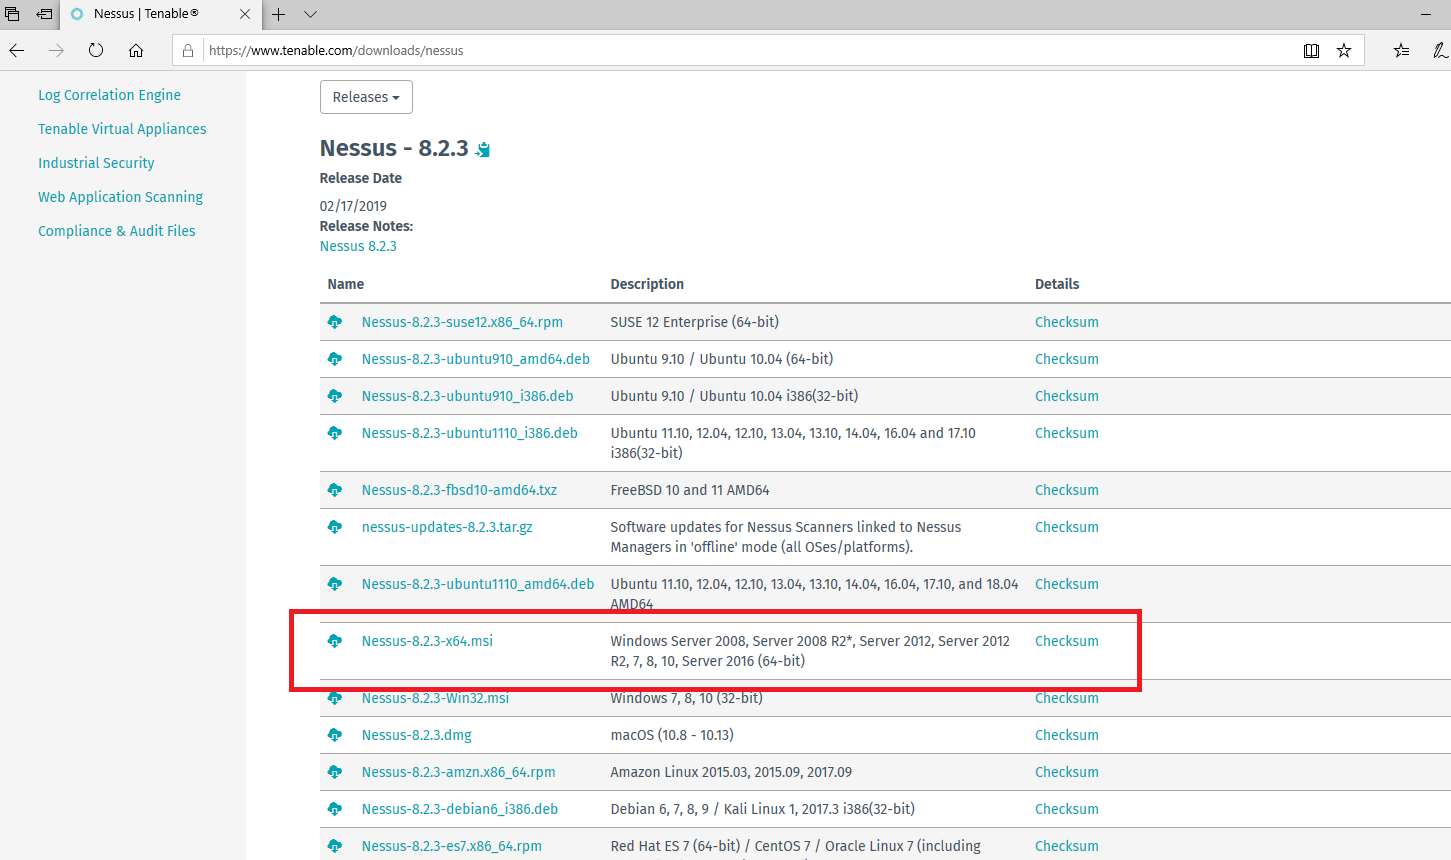 Downloading Nessus
Install Nessus. During the installation, Nessus will install a tool called WinPcap, which will allow Nessus to capture live network traffic. Check Automatically start the WinPcap driver at boot time option and install WinPcap.
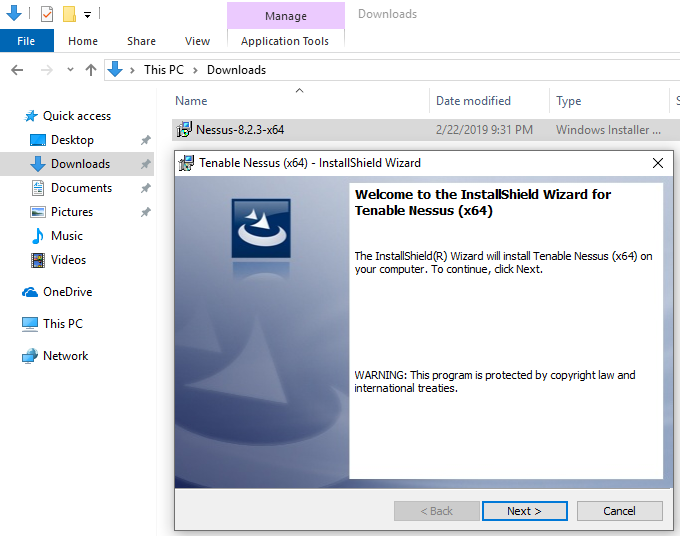 Nessus installer
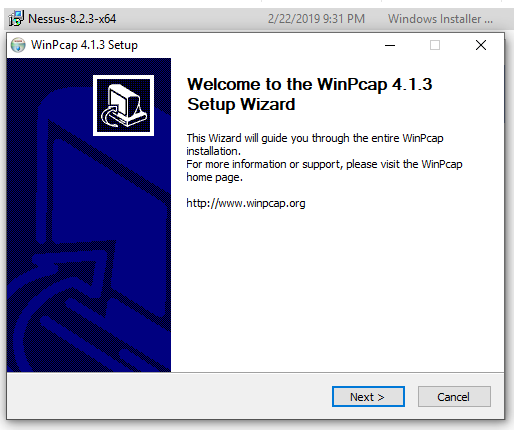 Nessus Setup Wizard
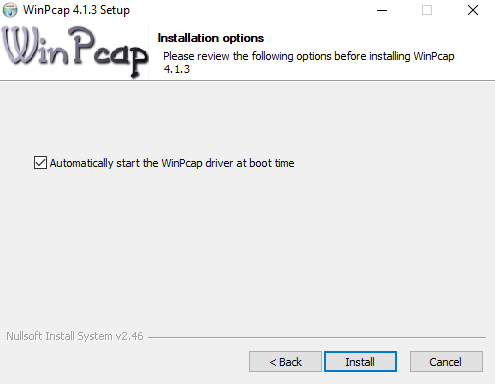 Select the start the WinPcap driver at boot option
Nessus runs on TCP Port 8834 on your local machine. To access the web console, open a browser and navigate to https://localhost:8834. Once the installation is complete, your default browser will open, and it will ask you to connect via SSL. Click Connect via SSL and your browser will display a warning saying that the certificate cannot be trusted. This is normal since Nessus uses a self-signed certificate. Proceed by clicking Go on to the webpage (Different browsers will have different wording, but they will give you an option to accept the risk and proceed).
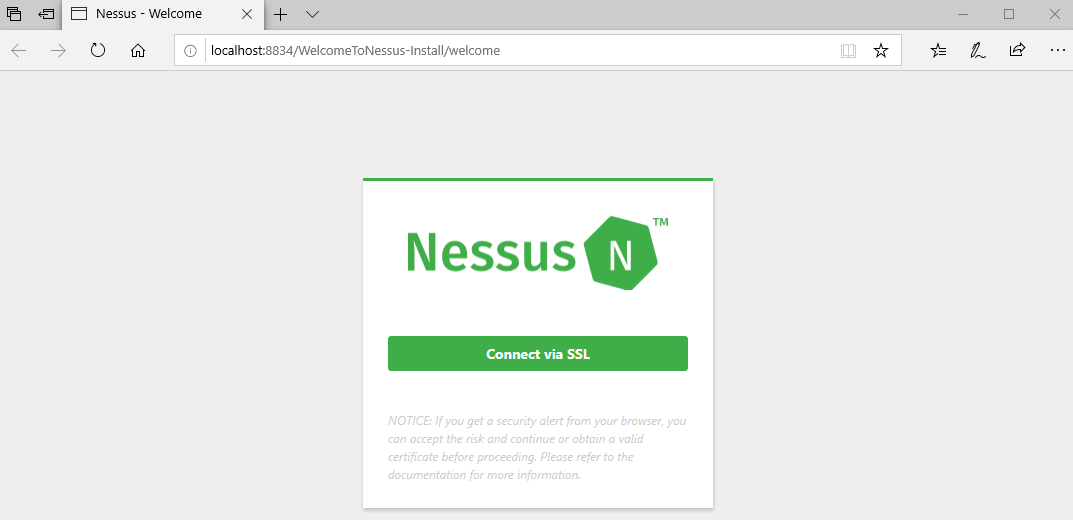 Welcome to Nessus!
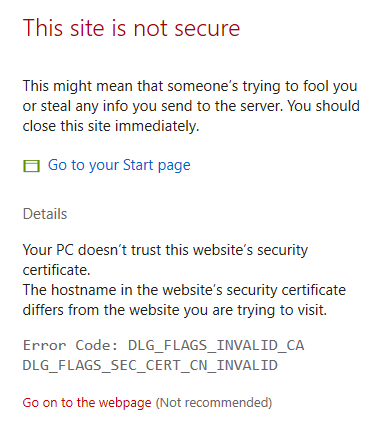 Certificate Warning, Select Go on to the webpage
Create your account. Make sure you use a strong password! Once you create an account, you will be asked to enter your activation code that was sent to your email. After you enter the code and click Continue, Nessus will start to set up the plugins and other files that it needs to perform a scan. This process will take a while so take a break and come back in an hour or so. After the setup is complete, you’ll be greeted by the web console.
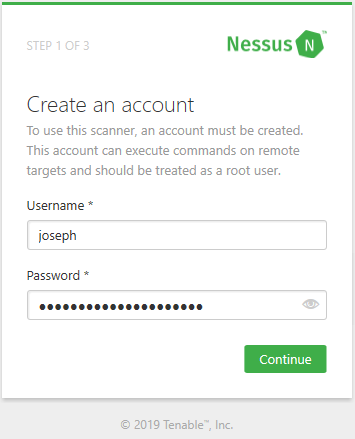 Creating a Nessus account
  Registering the scanner
 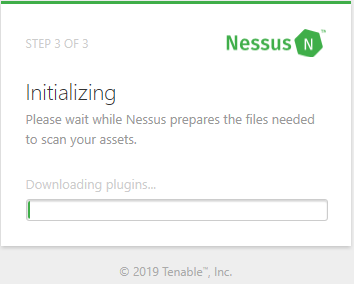 Initializing Nessus
 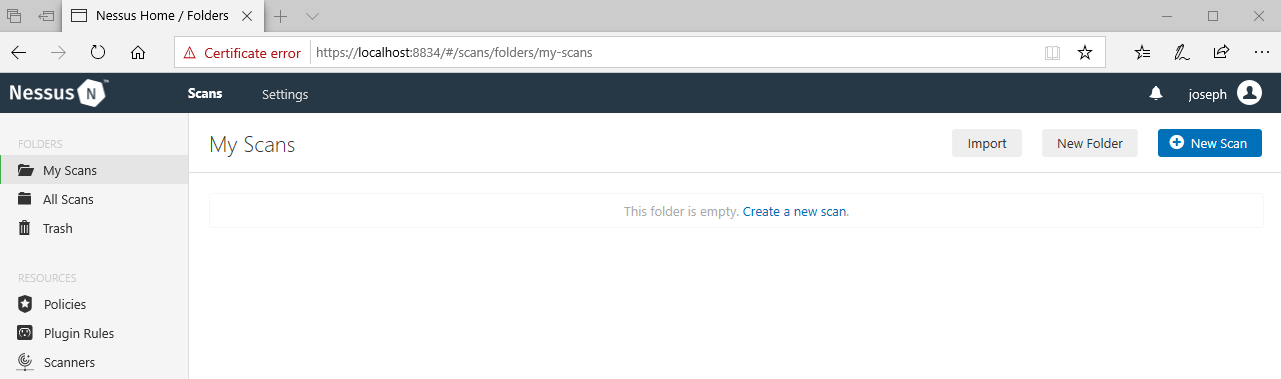 Nessus using Localhost and Port 8834
You can create a new scan by clicking New Scan on the upper right corner. You’ll see that certain templates aren’t available until you upgrade to Nessus Professional, but you still have access to templates such as Advanced Scan, Basic Network Scan, Host Discovery, Malware Scan, Spectre and Meltdown, and WannaCry Ransomware. It is straight forward to use these templates; you give it the IP addresses you want to scan, and credentials if you want to perform the recommended authenticated scan. Setting up a scan and properly performing an authenticated scan will be covered in Part II.
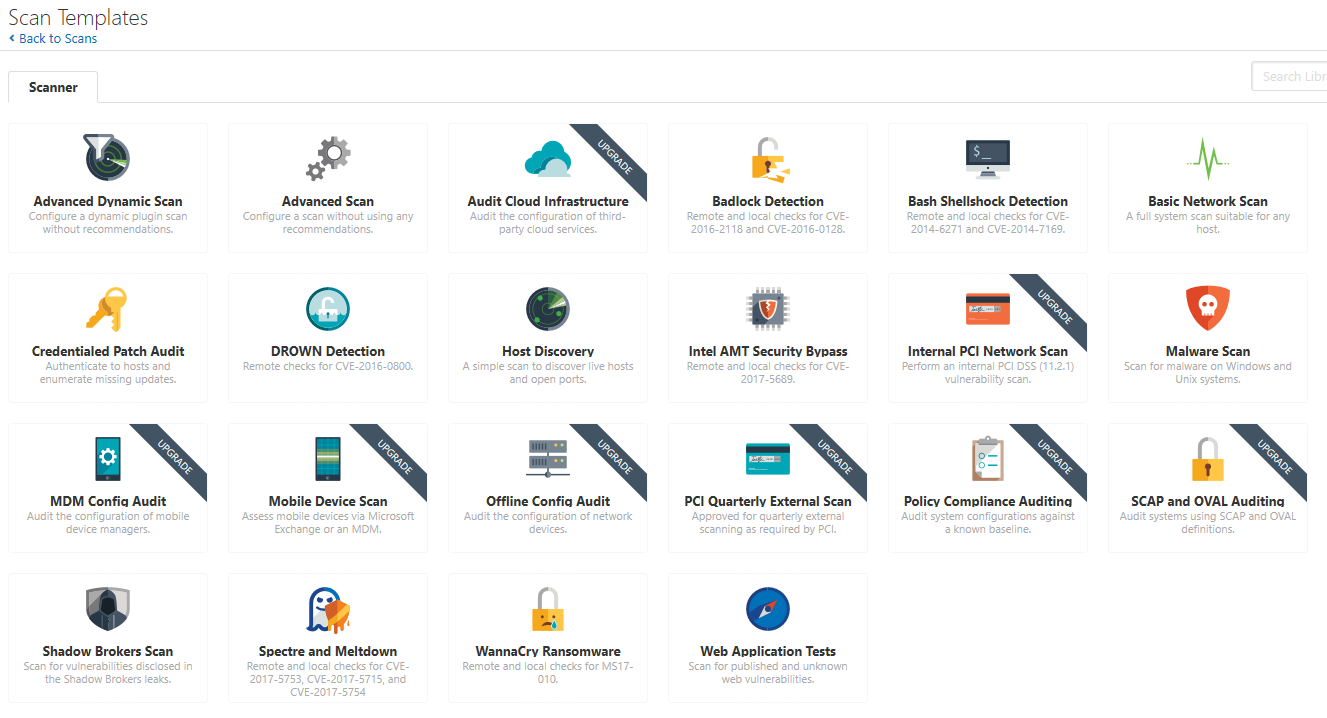 Listing of Scan Templates for Nessus
Useful Tips and Tricks
Now, I would like to share some tips and tricks that I’ve acquired using Nessus for about a year. This is a personal preference, so you do not have to follow my suggestions. It will involve tweaking some settings and if you don’t want to, that’s fine. It won’t affect the performance of the Nessus scans.
By default, Nessus will automatically start and run in the background on boot on Windows. I don’t like how it’s running when I don’t need it (On Linux, Nessus does not start automatically by default and you need to start it manually, which is what I prefer!). In order to prevent Nessus starting on boot, open Services and find Tenable Nessus on the list. You will see that it is set to Automatic. To change this, right click on it and set Startup type to Manual. Nessus won’t start on boot anymore and you’ll have to manually start/stop it. To do so, open a Command Promptor PowerShell and type net stop/start “Tenable Nessus”.
 Windows Services
 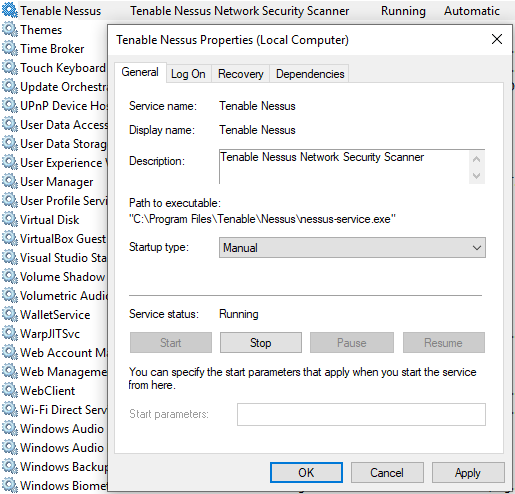 Configuring Nessus to manual start using Windows Services
 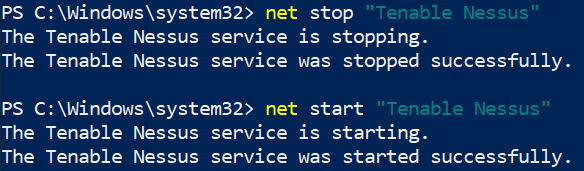 Net Start/Stop of Nessus
According to Tenable, they release more than 100 plugins weekly. This means that you will have to update Nessus frequently in order to use those new plugins. If there is an update available, Nessus will let you know when you log into the GUI. However, I prefer updating it from the command line. To do this, open a Command Prompt or PowerShell as an administrator and navigate to C:Program FilesTenableNessus directory. Once you are there, type .nessuscli.exe update –all (. is not needed if you are doing this from the Command Prompt). Nessus will download the updates from nessus.org. Make sure to restart Nessus after you update it.
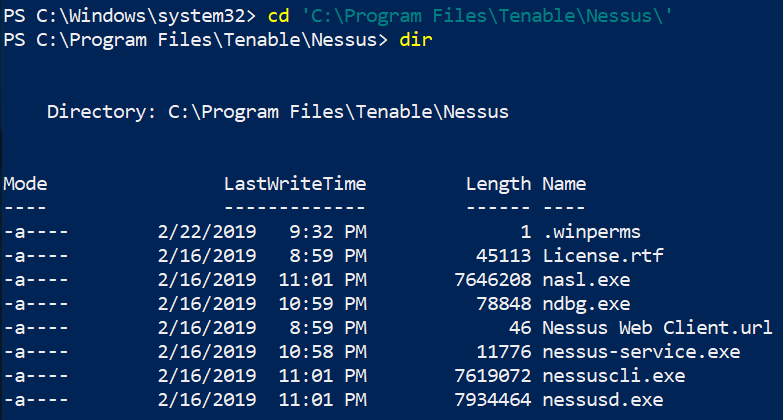 Nessus Directory
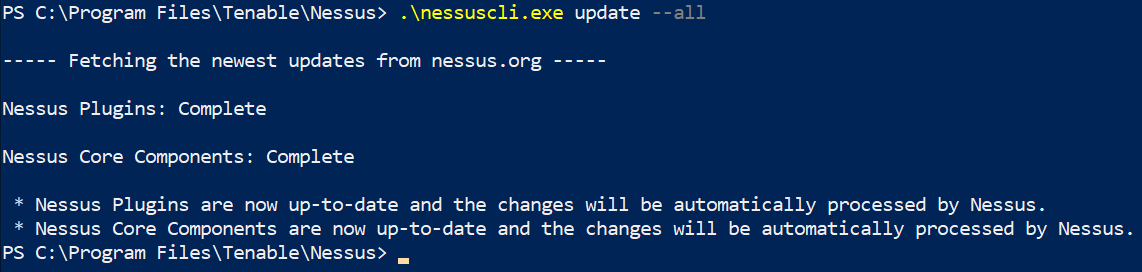 Nessus Update from command line
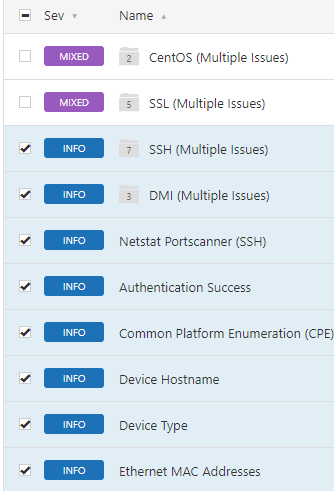
Lastly, Nessus rates the findings with its severity levels: Critical, High, Medium, Low, and Informational. Prior to Nessus v8, it listed the findings by severity but now it “groups” certain findings. I find this feature not very helpful and annoying, so I disabled it right away. To do so, click on Settings next to Scans, go to Advanced, and type groups. This will return two settings: Use Mixed Vulnerability Groups and Use Vulnerability Groups. Set the values to No. You are welcome.
 Nessus Groups
 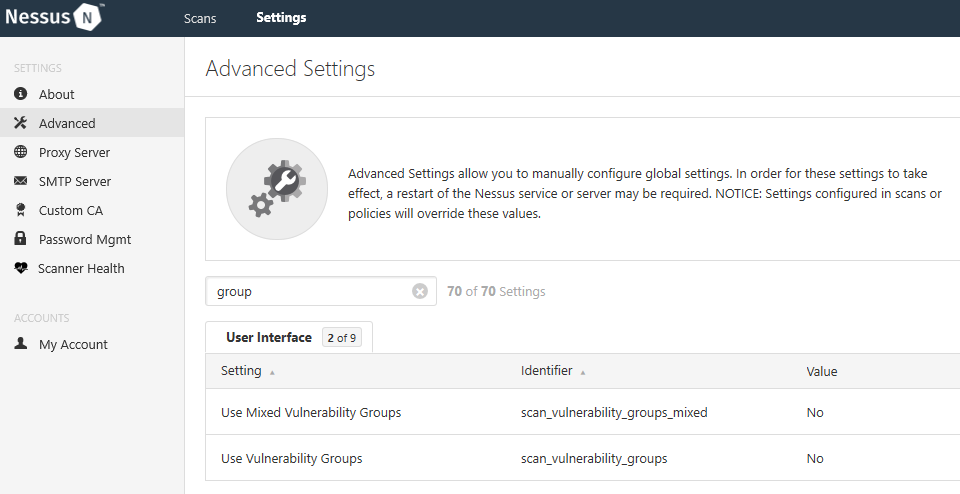 Nessus Advanced Settings
Conclusion
Nessus Home is a great vulnerability scanner that everyone should be using, not just cybersecurity professionals. In this blog, I’ve demonstrated installing and setting up Nessus on Windows. In Part II, I will demonstrate how to set up an authenticated scan and tweak some settings on Windows to allow Nessus to perform an authenticated scan.
Author Bio

Joseph at Mt. Bonnell in Austin, TX
Joseph Choi is a Cybersecurity Analyst with Alpine Security. He holds several security-related certifications, including Licensed Penetration Tester (Master), EC-Council Certified Security Analyst (ECSA), Certified Ethical Hacker (CEH), CyberSec First Responder (CFR), Security+, and Network+. Joseph is a graduate from Truman State University with a B.S. in Business Administration.
Joseph’s cybersecurity experience began at Alpine and includes penetration tests, vulnerability assessments, and wireless penetration tests. He was born and raised in South Korea until the age of 10 when he moved to Mexico. It wasn’t until 2007 that his family moved to the States where he completed his high school and college education. He is a fan of Mr. Robot, and in his spare time he enjoys spending time with his girlfriend, taking long walks around the park, and going to the gym.